The project process
The plumbing process
Understand the main stages of a plumbing project: assessment, scope, planning, execution, and review. The sequence and required approvals depend on the actual work.
Describe the problem or project
Explain the symptoms or installation goals and identify the affected fixtures or equipment. Urgent problems require direct contact with a local professional.
You decideConfirm the priorities, selections, or changes relevant to this stage before the work moves forward.You will seeA clear record of the current scope, open questions, and next steps.Review access and existing equipment
Review the equipment, available access, and information needed for assessment. Do not open equipment or expose services to collect photographs.
You decideConfirm the priorities, selections, or changes relevant to this stage before the work moves forward.You will seeA clear record of the current scope, open questions, and next steps.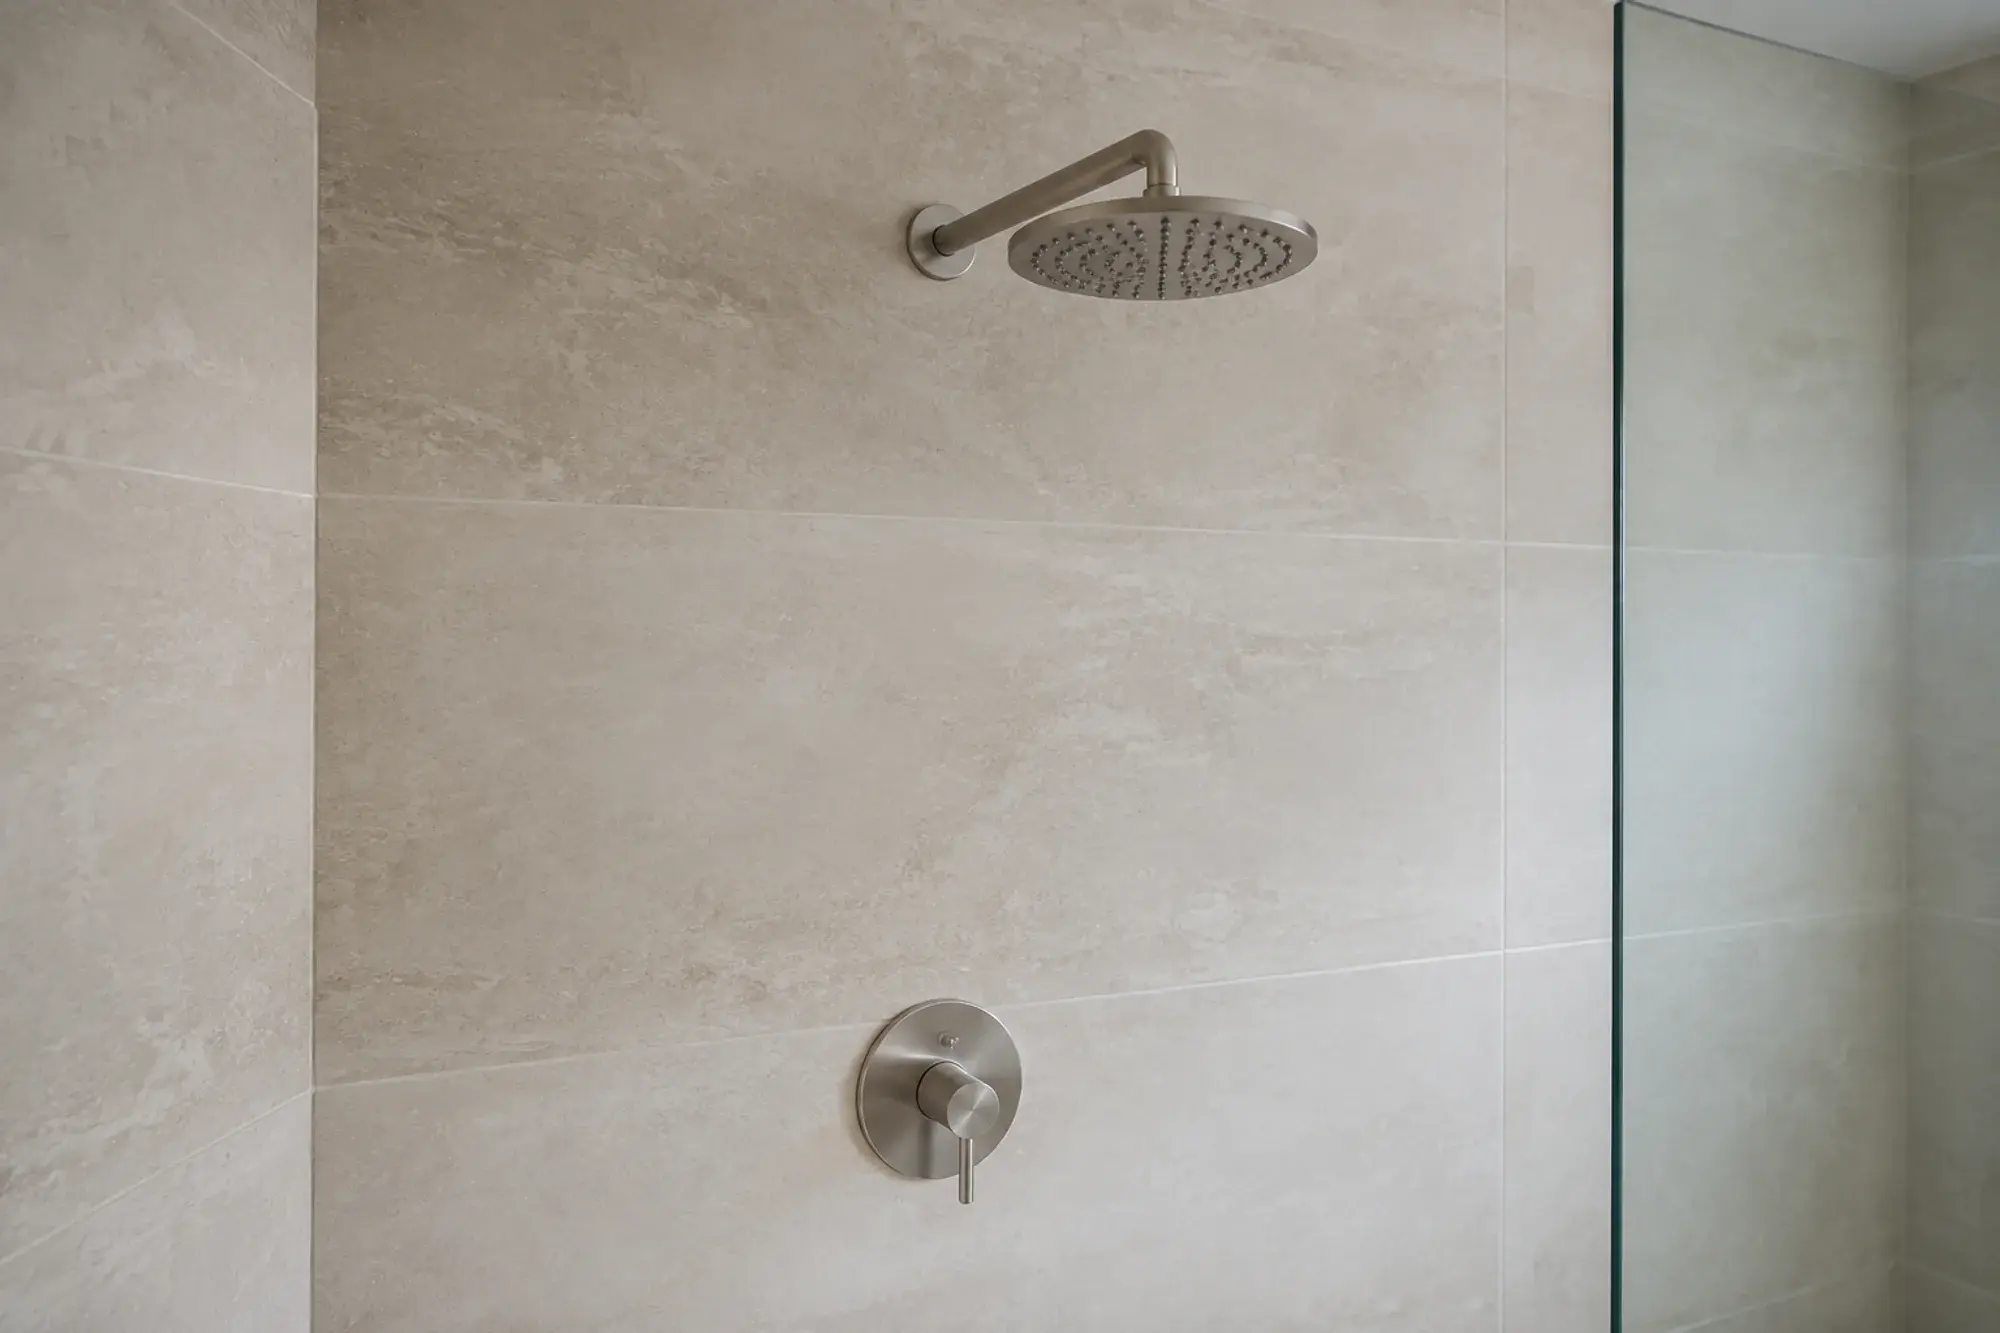
Shower concept with brushed nickel trim against pale stone tile. Illustrative image. Assess the plumbing
Have a qualified professional investigate the issue and identify the work needed to establish a reliable diagnosis.
You decideConfirm the priorities, selections, or changes relevant to this stage before the work moves forward.You will seeA clear record of the current scope, open questions, and next steps.Explain the options
Compare suitable repair or replacement options, including their access requirements and any related work.
You decideConfirm the priorities, selections, or changes relevant to this stage before the work moves forward.You will seeA clear record of the current scope, open questions, and next steps.Agree the scope and timing
Confirm the work included, expected interruptions, materials, and scheduling arrangements before authorizing the project.
You decideConfirm the priorities, selections, or changes relevant to this stage before the work moves forward.You will seeA clear record of the current scope, open questions, and next steps.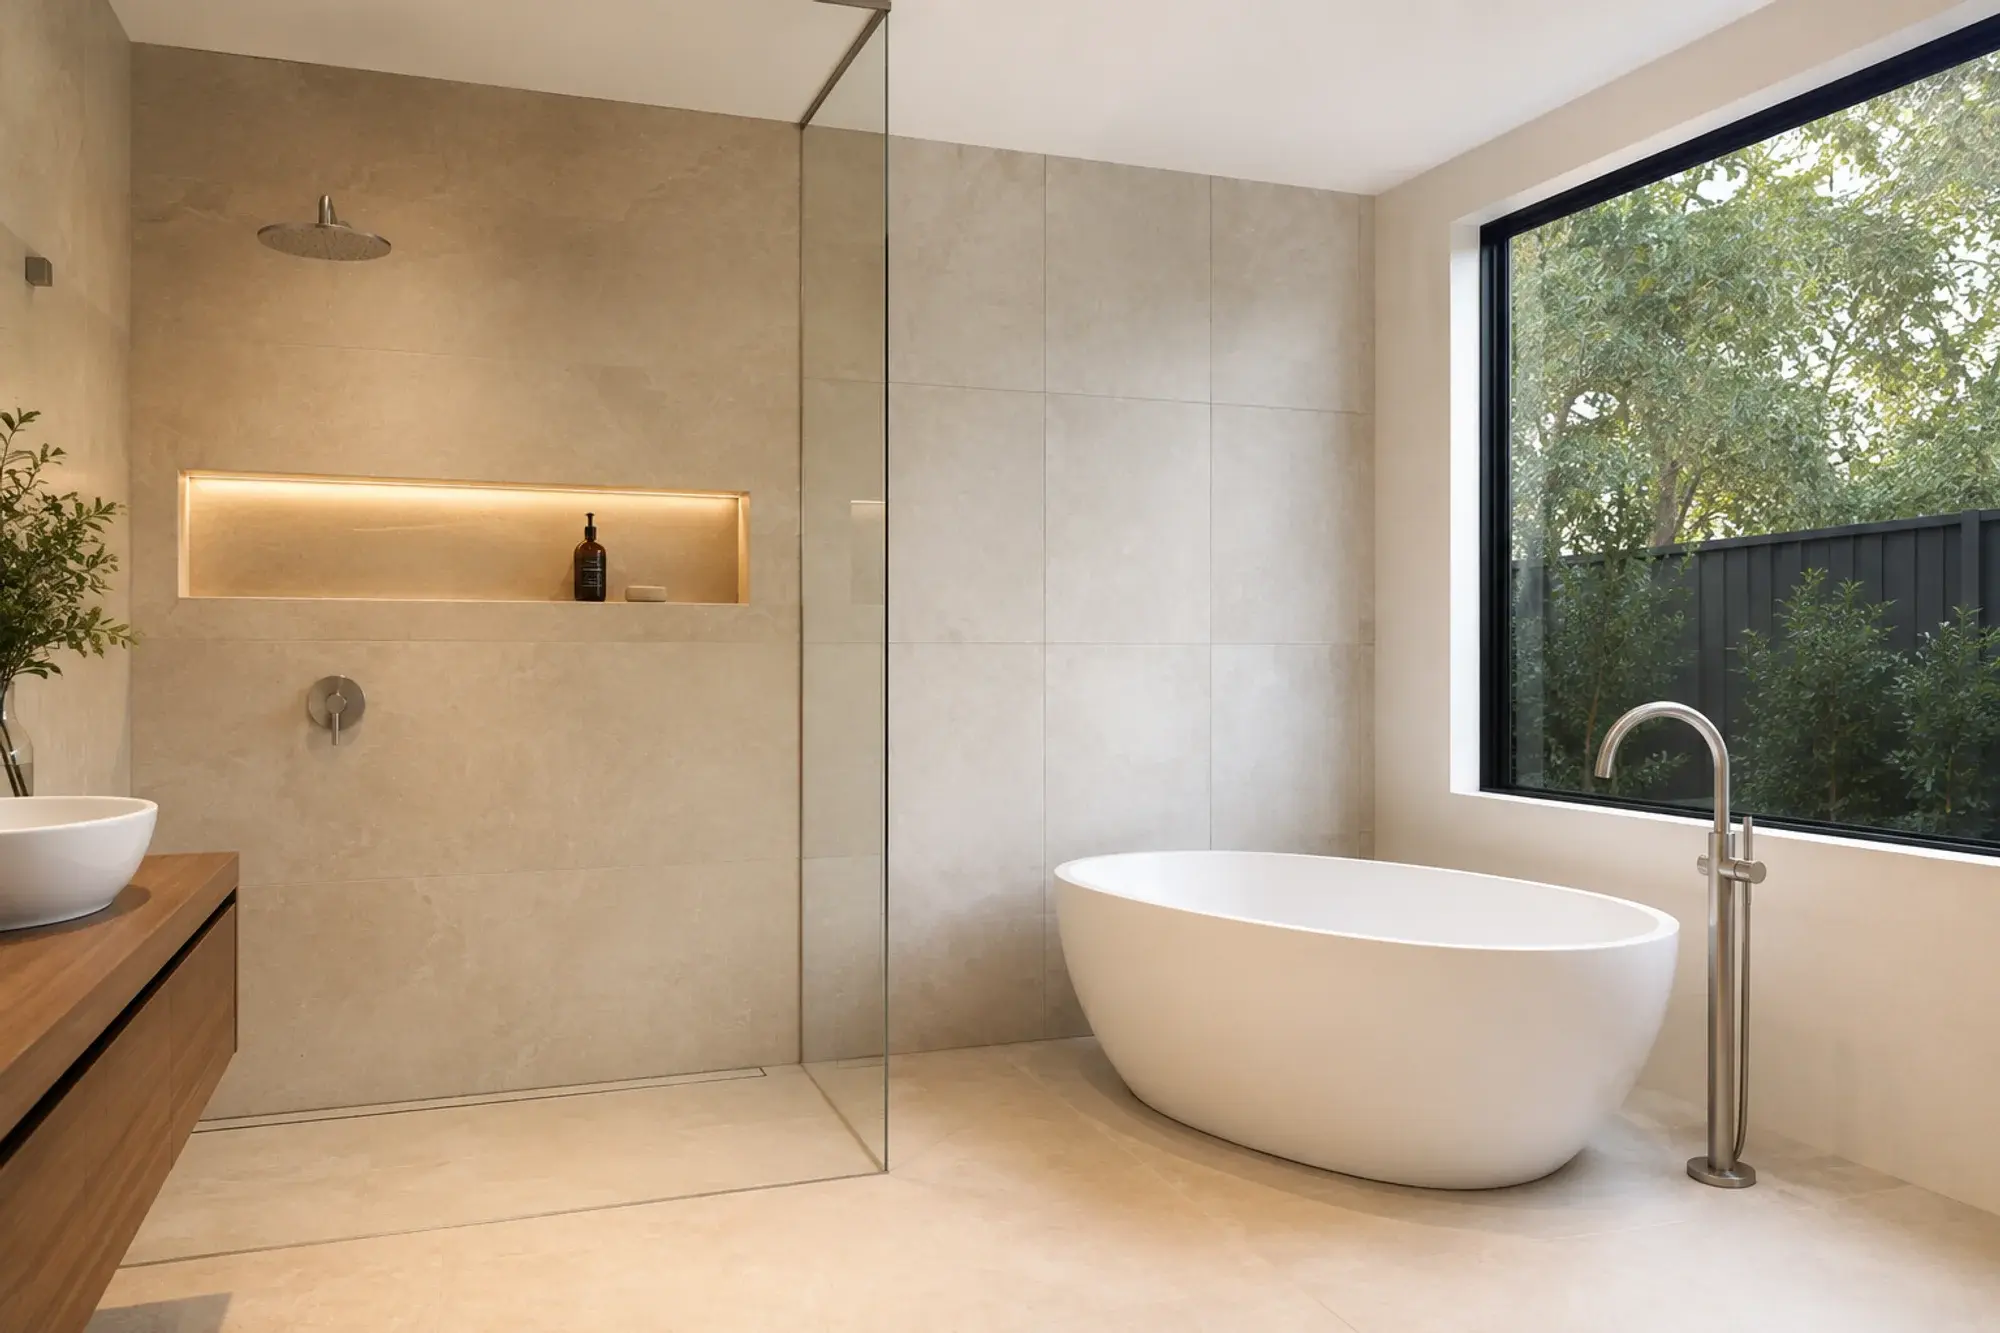
Bathroom concept with a freestanding bath and a walk-in shower in pale stone. Illustrative image. Carry out the planned work
Complete the agreed plumbing work and coordinate any dependent trades or inspections.
You decideConfirm the priorities, selections, or changes relevant to this stage before the work moves forward.You will seeA clear record of the current scope, open questions, and next steps.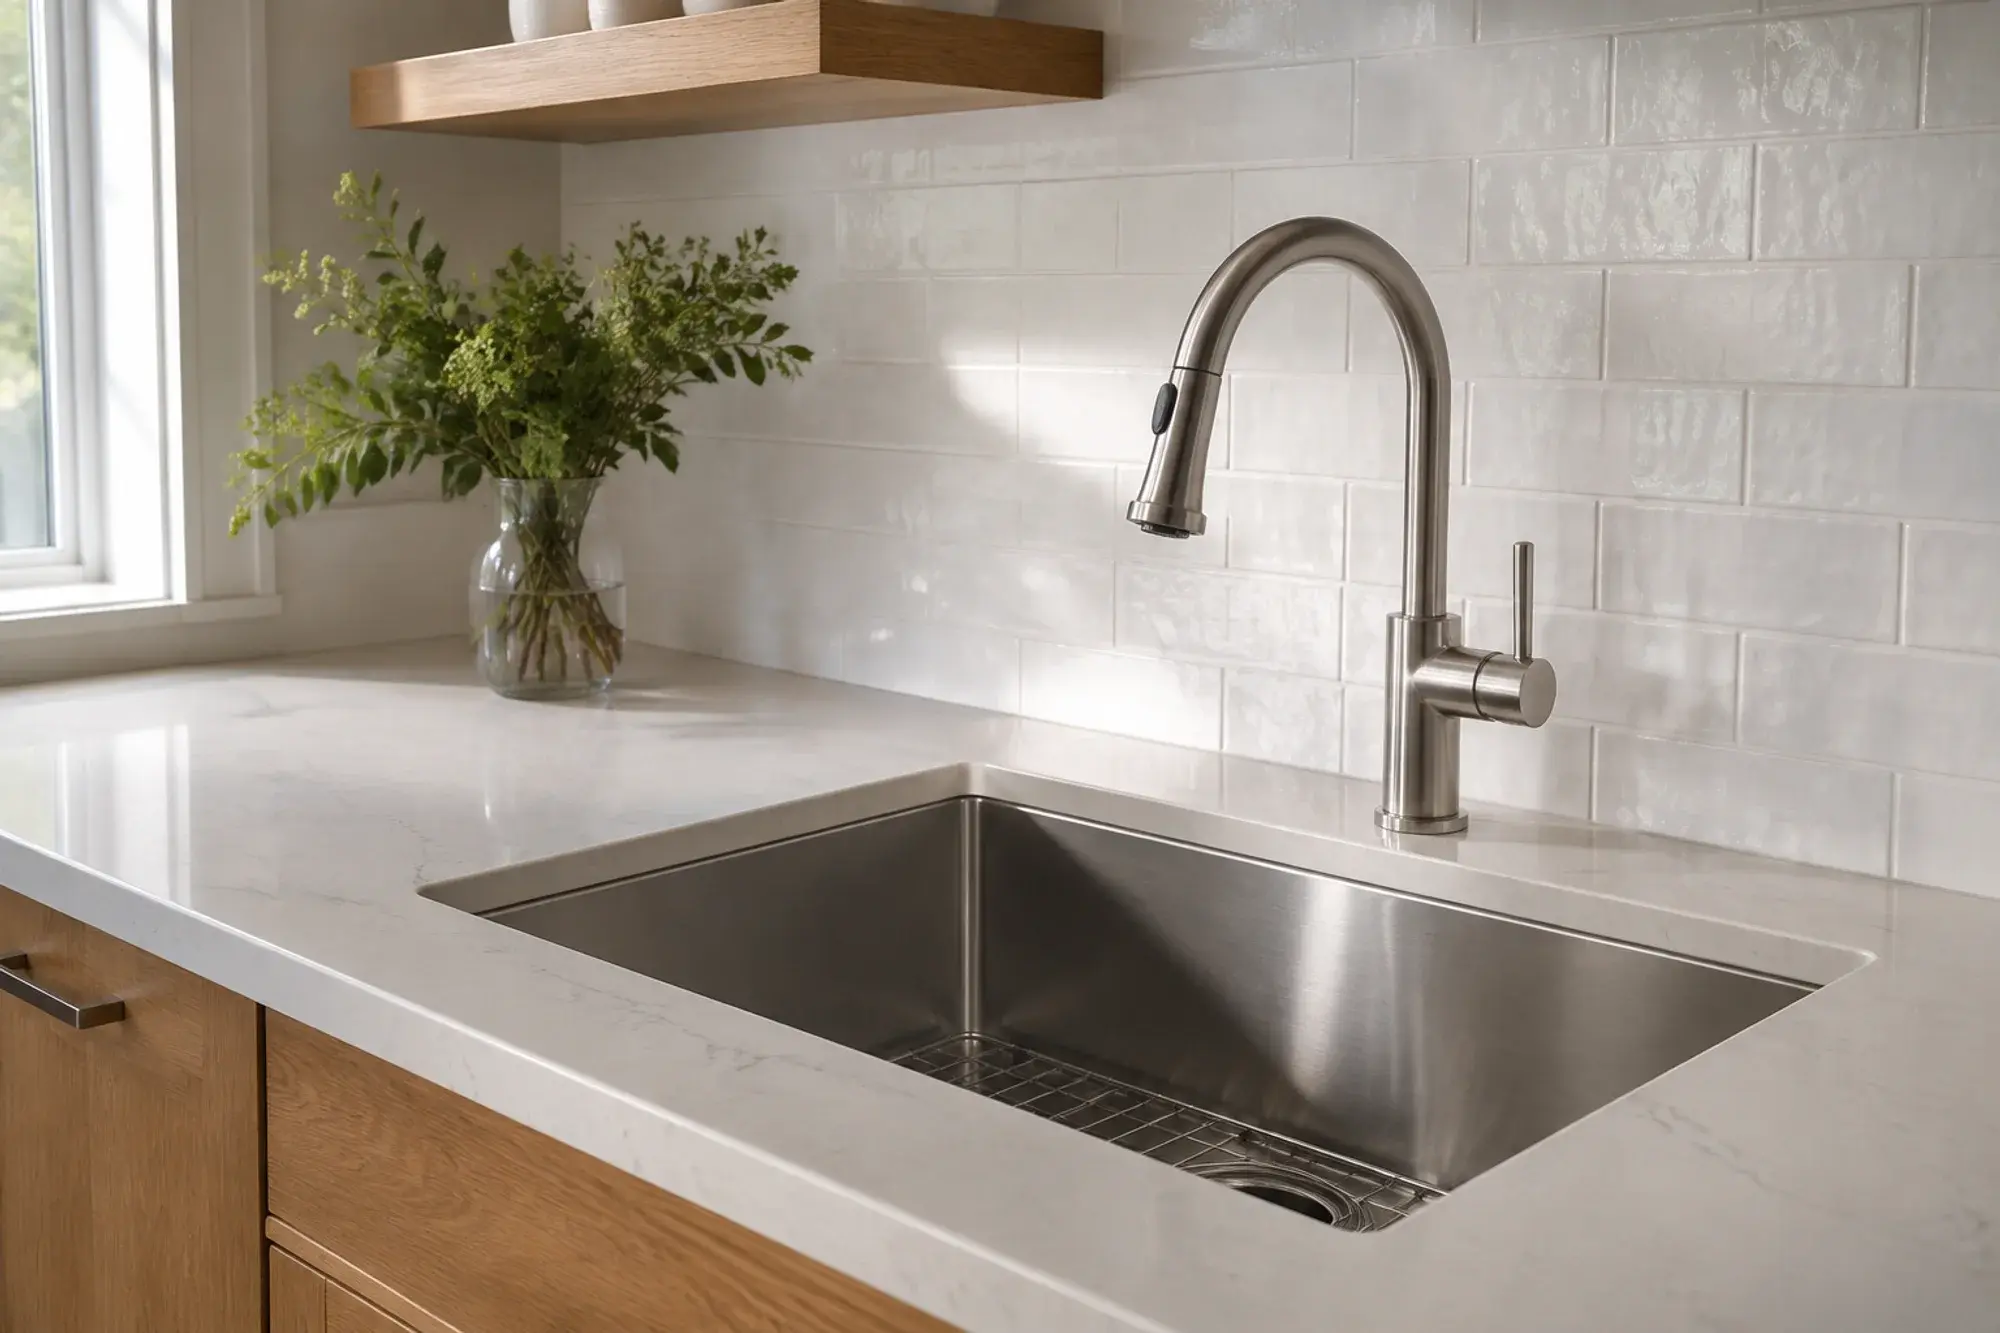
Kitchen concept with a single-bowl stainless sink and a brushed steel pull-down faucet. Illustrative image. Test the completed installation
Carry out the checks appropriate to the installed equipment and work scope. Record any remaining concerns.
You decideConfirm the priorities, selections, or changes relevant to this stage before the work moves forward.You will seeA clear record of the current scope, open questions, and next steps.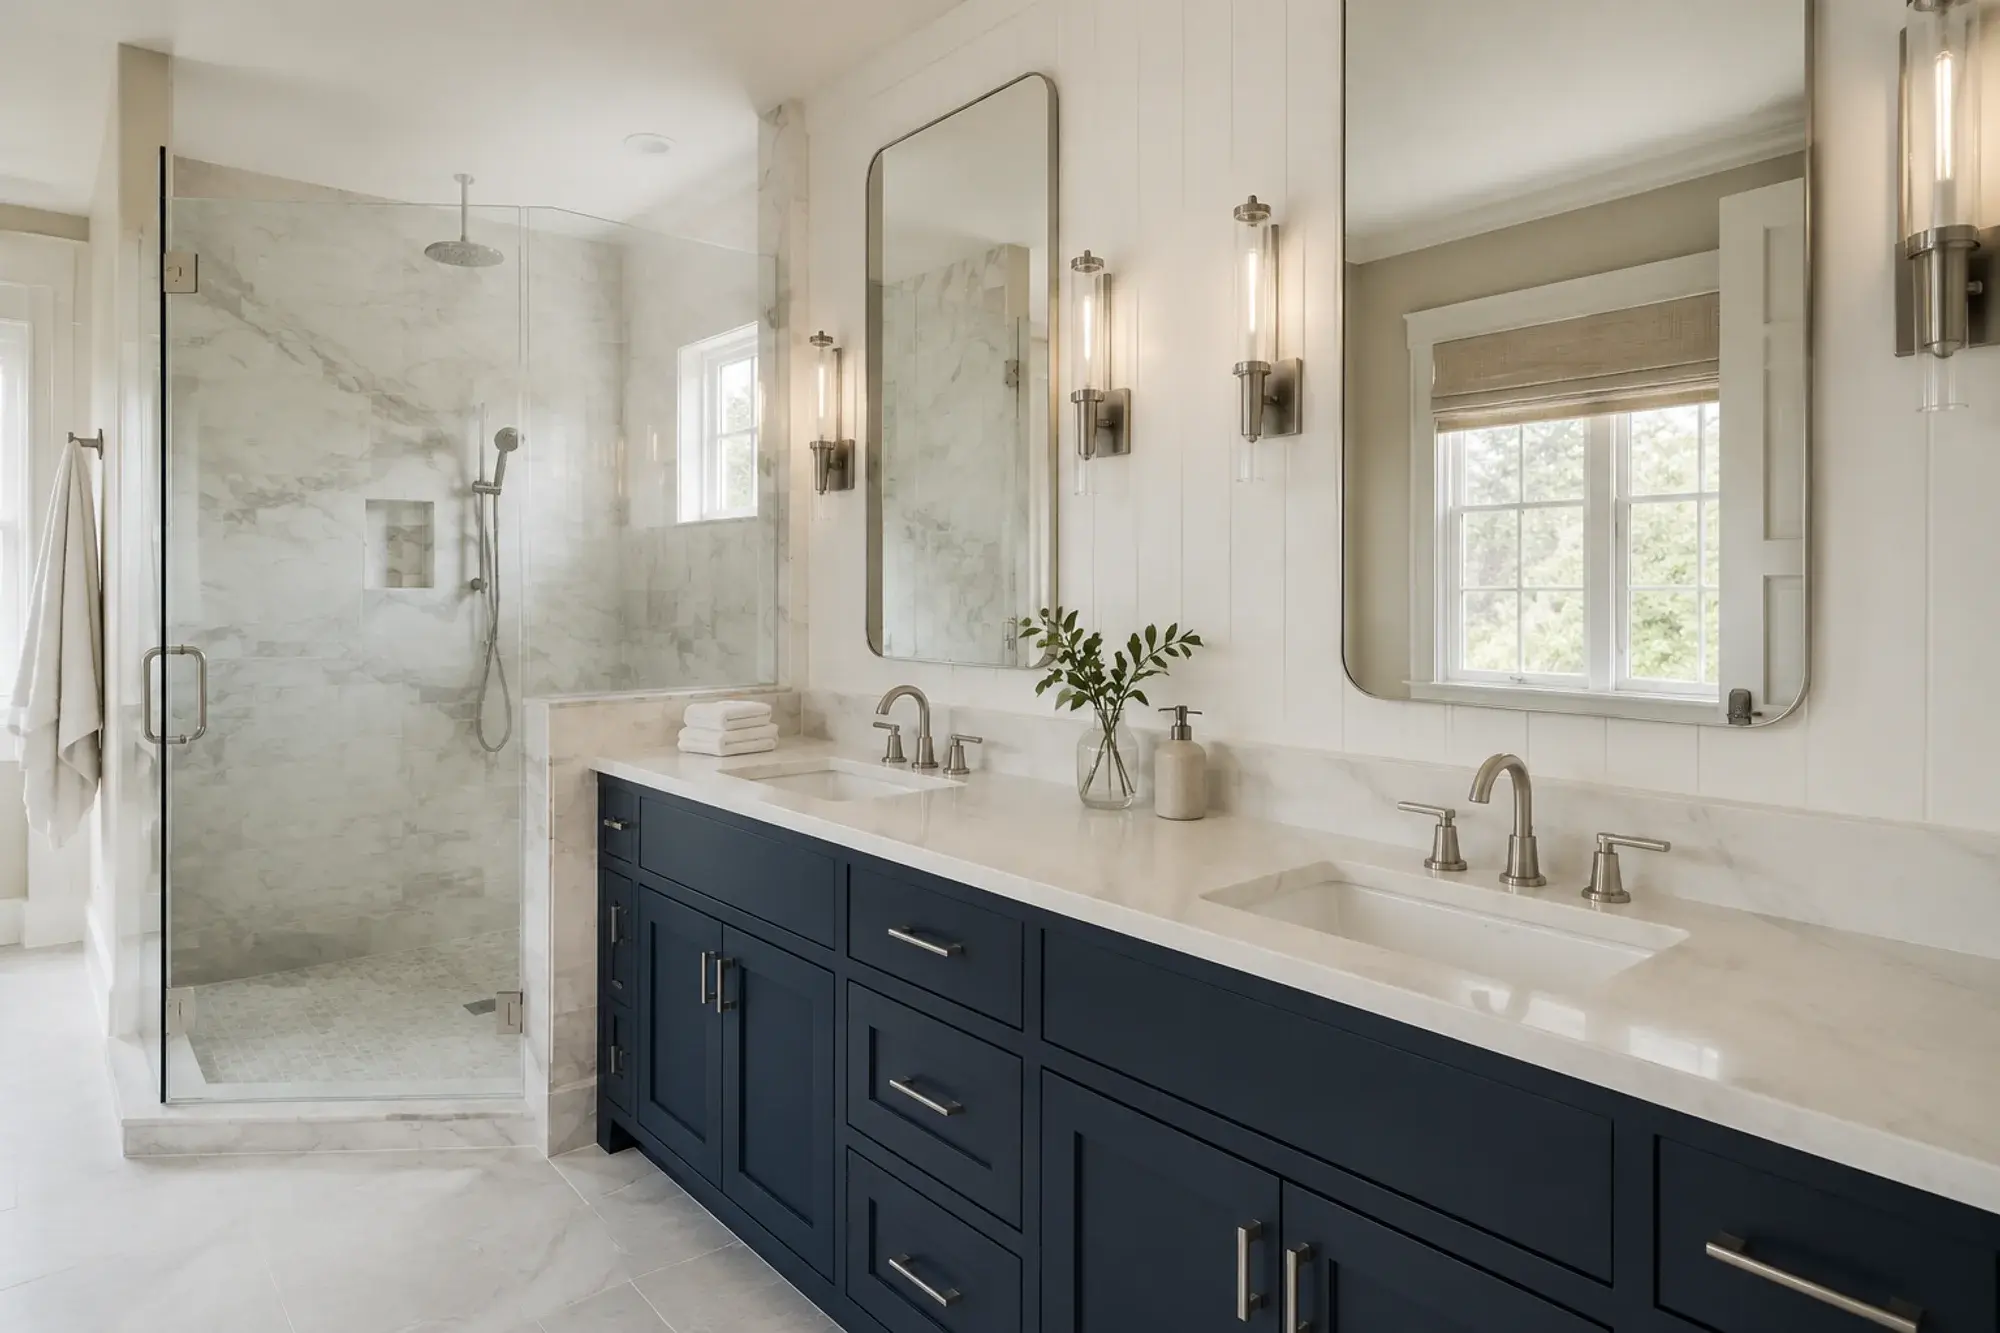
Bathroom concept with a navy double vanity, nickel faucets and a glass shower. Illustrative image. Review operation and next steps
Review operation, care requirements, and relevant product information. Confirm the arrangements for any agreed follow-up.
You decideConfirm the priorities, selections, or changes relevant to this stage before the work moves forward.You will seeA clear record of the current scope, open questions, and next steps.
Discuss your plumbing project
Share the scope, your priorities, and the timing you have in mind. This inquiry form is part of the 3Fold Labs website demonstration.