The project process
The roofing process
Understand the main stages of a roofing project: assessment, scope, planning, execution, and review. The sequence and required approvals depend on the actual work.
Framing only
layer 0 of 7
01of 13
Assess the roof
Review accessible roof conditions, the reported concern, and the limits of the assessment.
You decideConfirm the priorities, selections, or changes relevant to this stage before the work moves forward.You will seeA clear record of the current scope, open questions, and next steps.02of 13
Agree the scope and materials
Compare the proposed work, roofing materials, exclusions, and project requirements before scheduling.
You decideConfirm the priorities, selections, or changes relevant to this stage before the work moves forward.You will seeA clear record of the current scope, open questions, and next steps.03of 13
Prepare and remove existing roofing
Plan access, property protection, debris handling, and the removal required by the agreed scope.
You decideConfirm the priorities, selections, or changes relevant to this stage before the work moves forward.You will seeA clear record of the current scope, open questions, and next steps.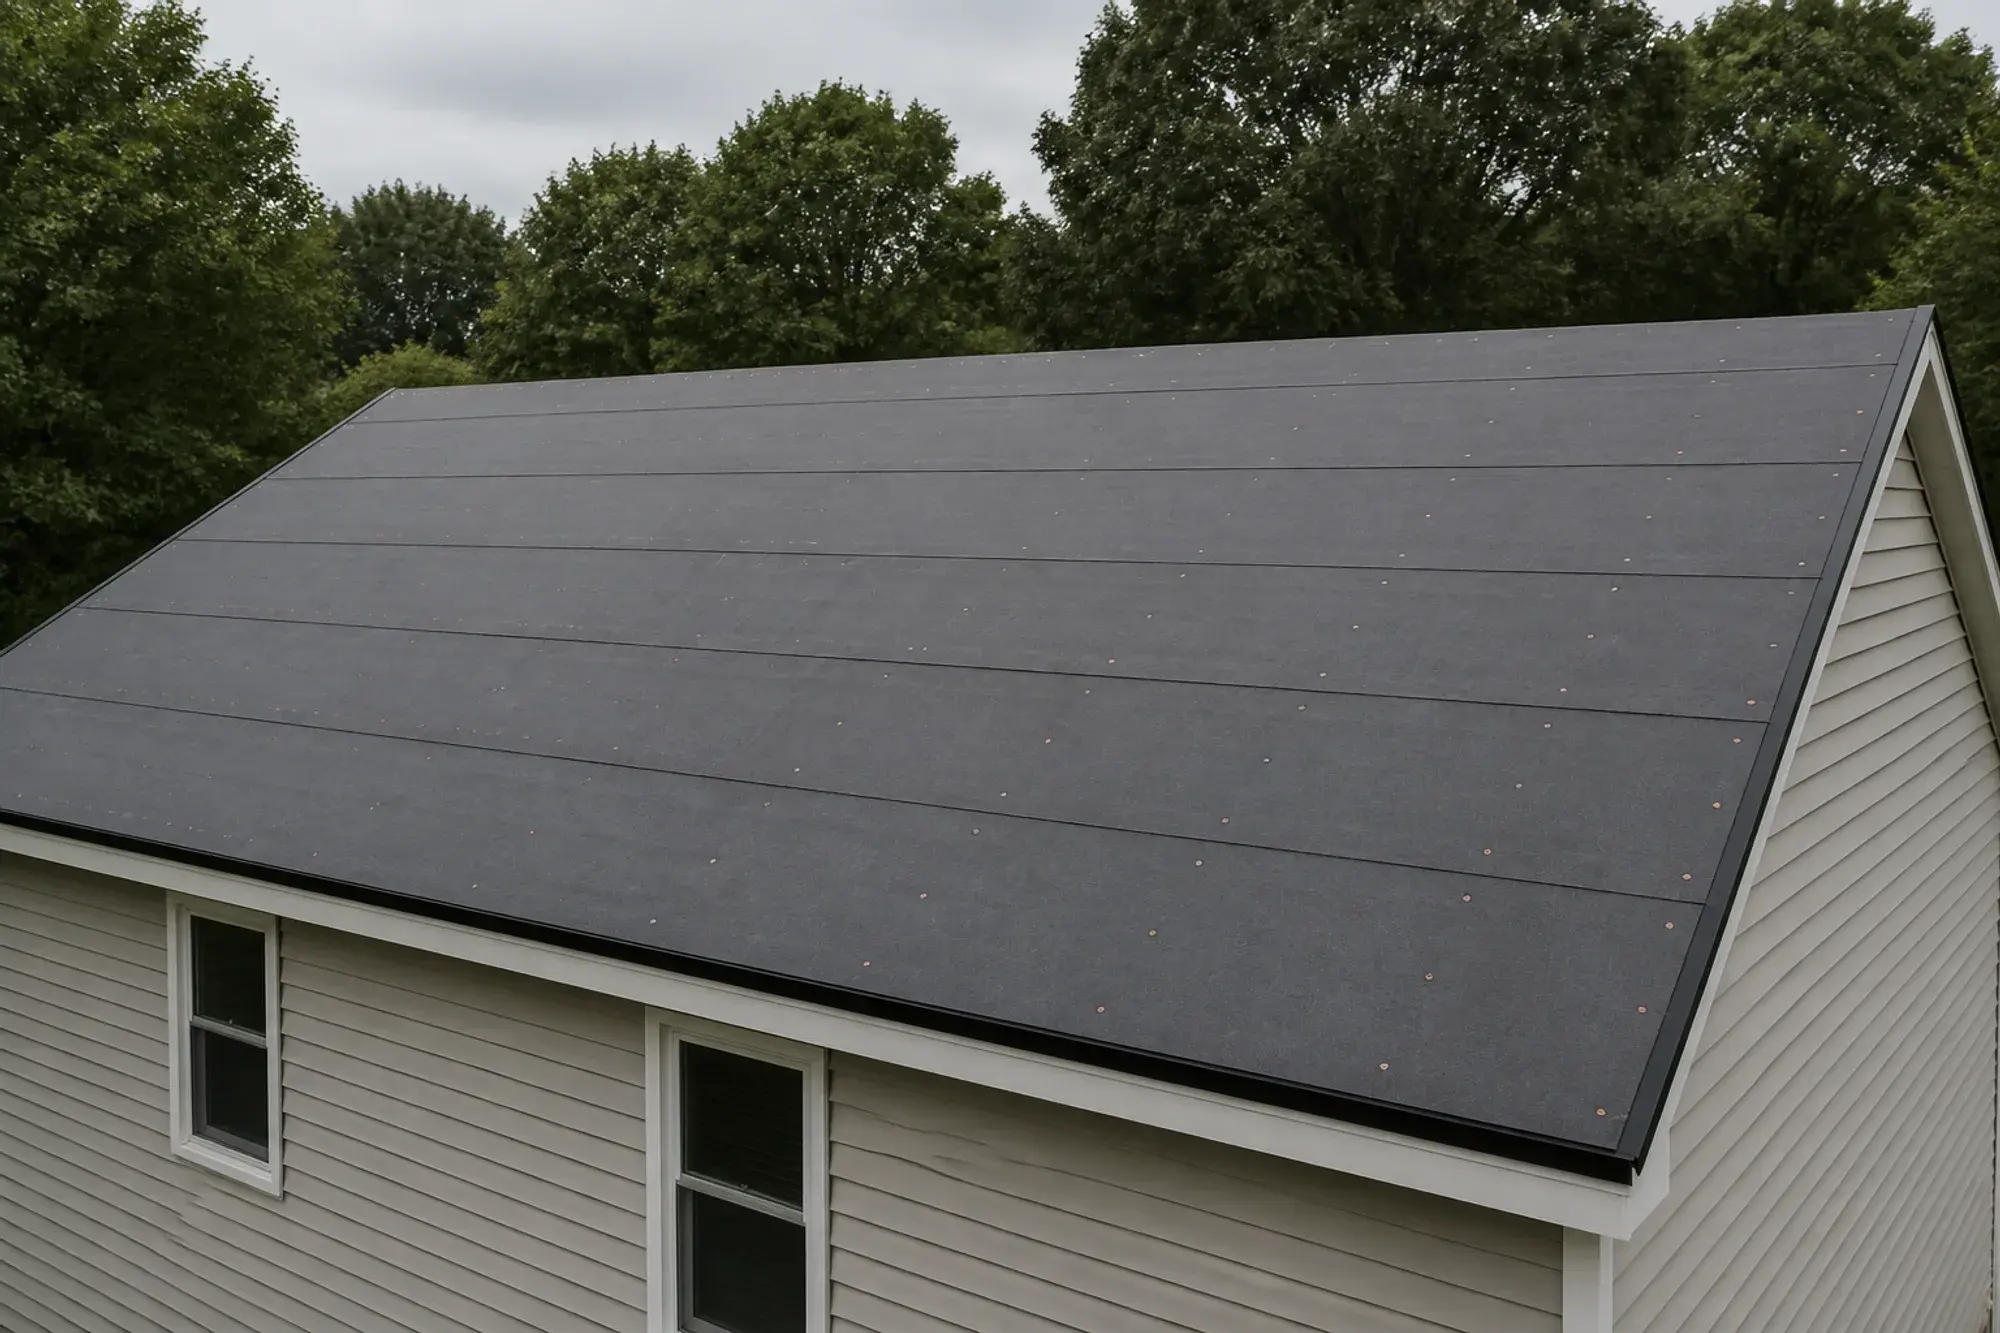
A roof covered in underlayment before the shingles go on. Illustrative project image. 04of 13
Review the exposed decking
Inspect accessible decking after removal and document any conditions that affect the planned work.
You decideConfirm the priorities, selections, or changes relevant to this stage before the work moves forward.You will seeA clear record of the current scope, open questions, and next steps.05of 13
Address required deck repairs
Review and authorize necessary substrate repairs before covering the affected areas.
You decideConfirm the priorities, selections, or changes relevant to this stage before the work moves forward.You will seeA clear record of the current scope, open questions, and next steps.06of 13
Install the specified underlayment
Coordinate the underlayment and membrane details with the selected roof system and applicable requirements.
You decideConfirm the priorities, selections, or changes relevant to this stage before the work moves forward.You will seeA clear record of the current scope, open questions, and next steps.07of 13
Complete the roof-edge details
Review the specified edge components and their relationship to underlayment, roof covering, and drainage.
You decideConfirm the priorities, selections, or changes relevant to this stage before the work moves forward.You will seeA clear record of the current scope, open questions, and next steps.08of 13
Integrate the flashing
Coordinate flashing at roof junctions and penetrations with adjacent materials and the specified system.
You decideConfirm the priorities, selections, or changes relevant to this stage before the work moves forward.You will seeA clear record of the current scope, open questions, and next steps.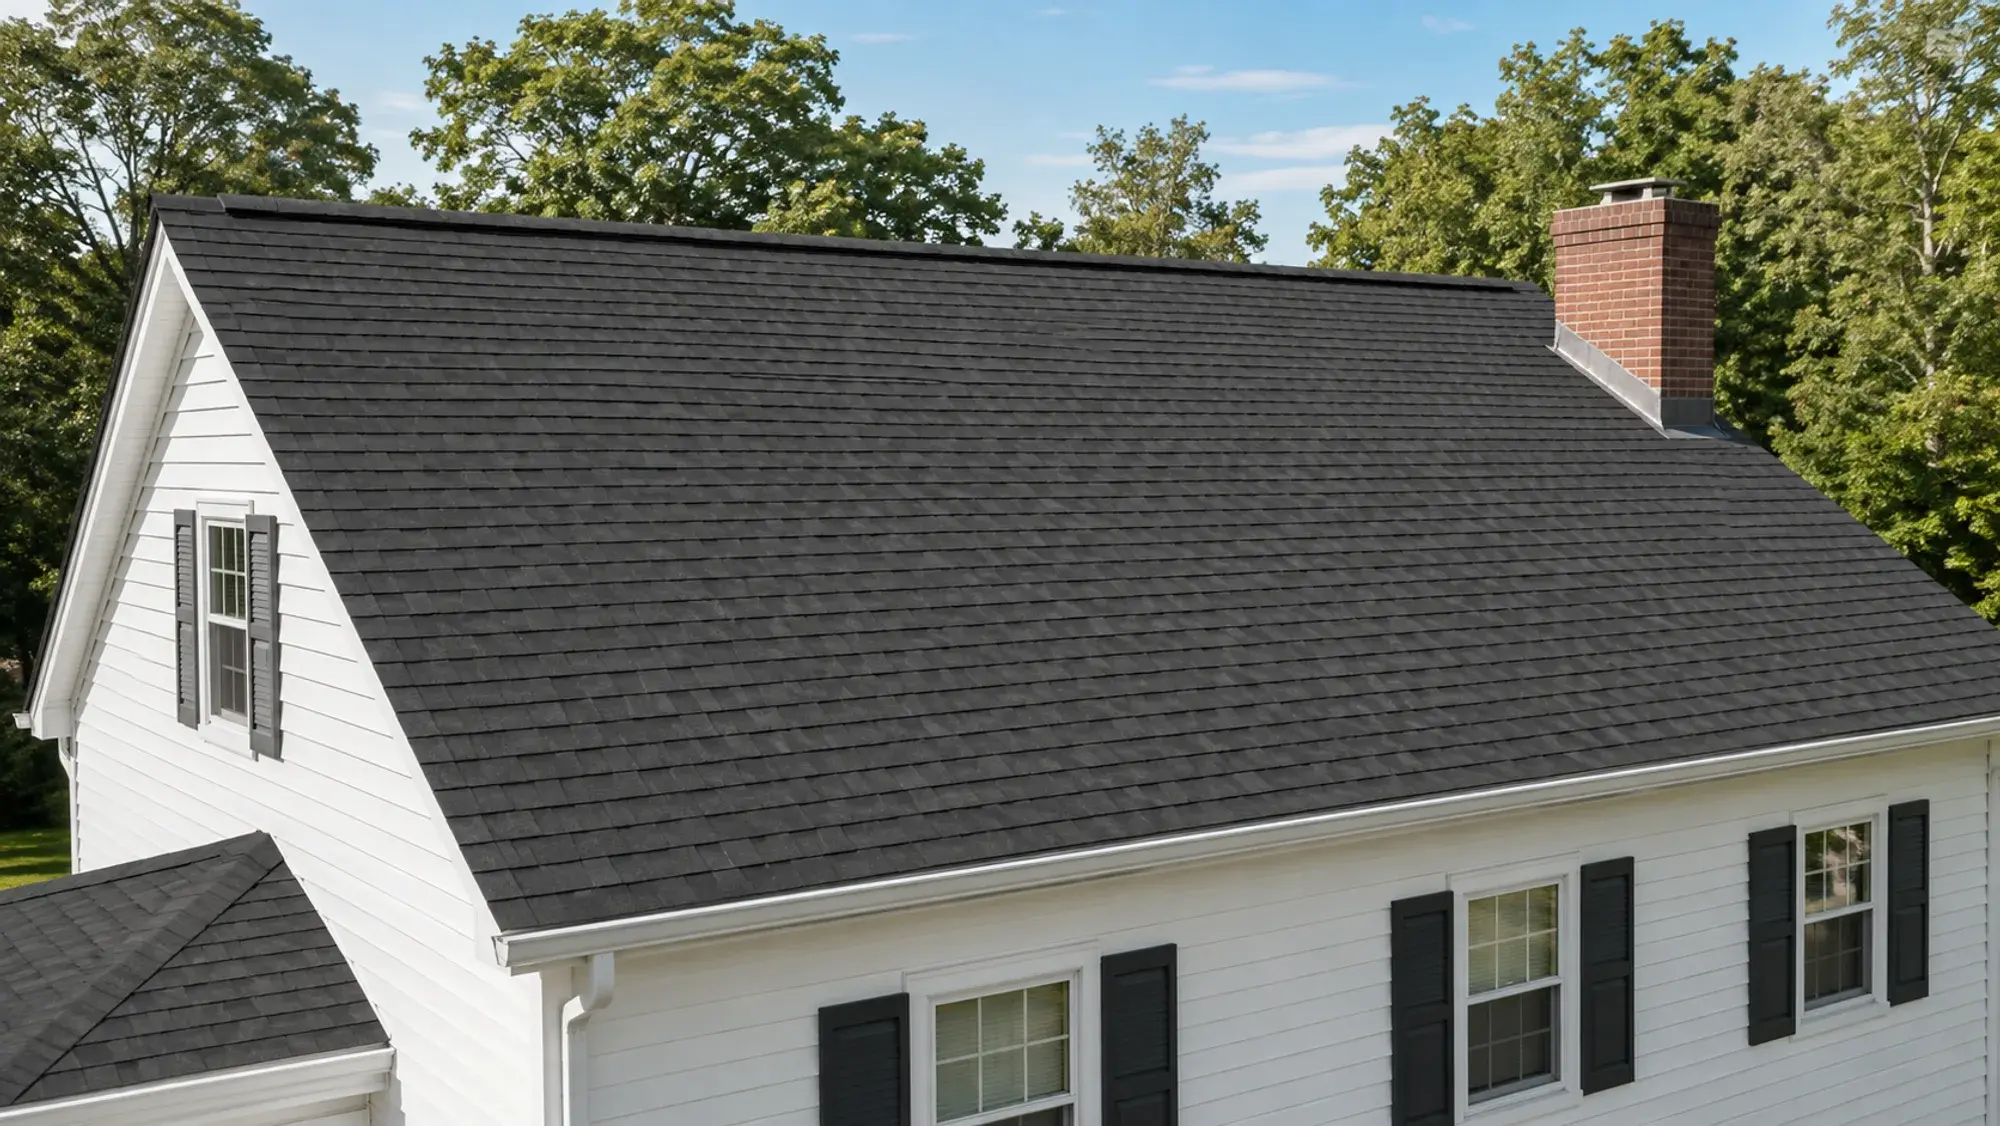
Roof and chimney shown in context. Illustrative image, not a technical installation detail. 09of 13
Install the roof covering
Complete the selected roof covering in accordance with the project specifications and product requirements.
You decideConfirm the priorities, selections, or changes relevant to this stage before the work moves forward.You will seeA clear record of the current scope, open questions, and next steps.10of 13
Complete ridges and ventilation details
Coordinate ridge components and the specified ventilation arrangement with the rest of the roof system.
You decideConfirm the priorities, selections, or changes relevant to this stage before the work moves forward.You will seeA clear record of the current scope, open questions, and next steps.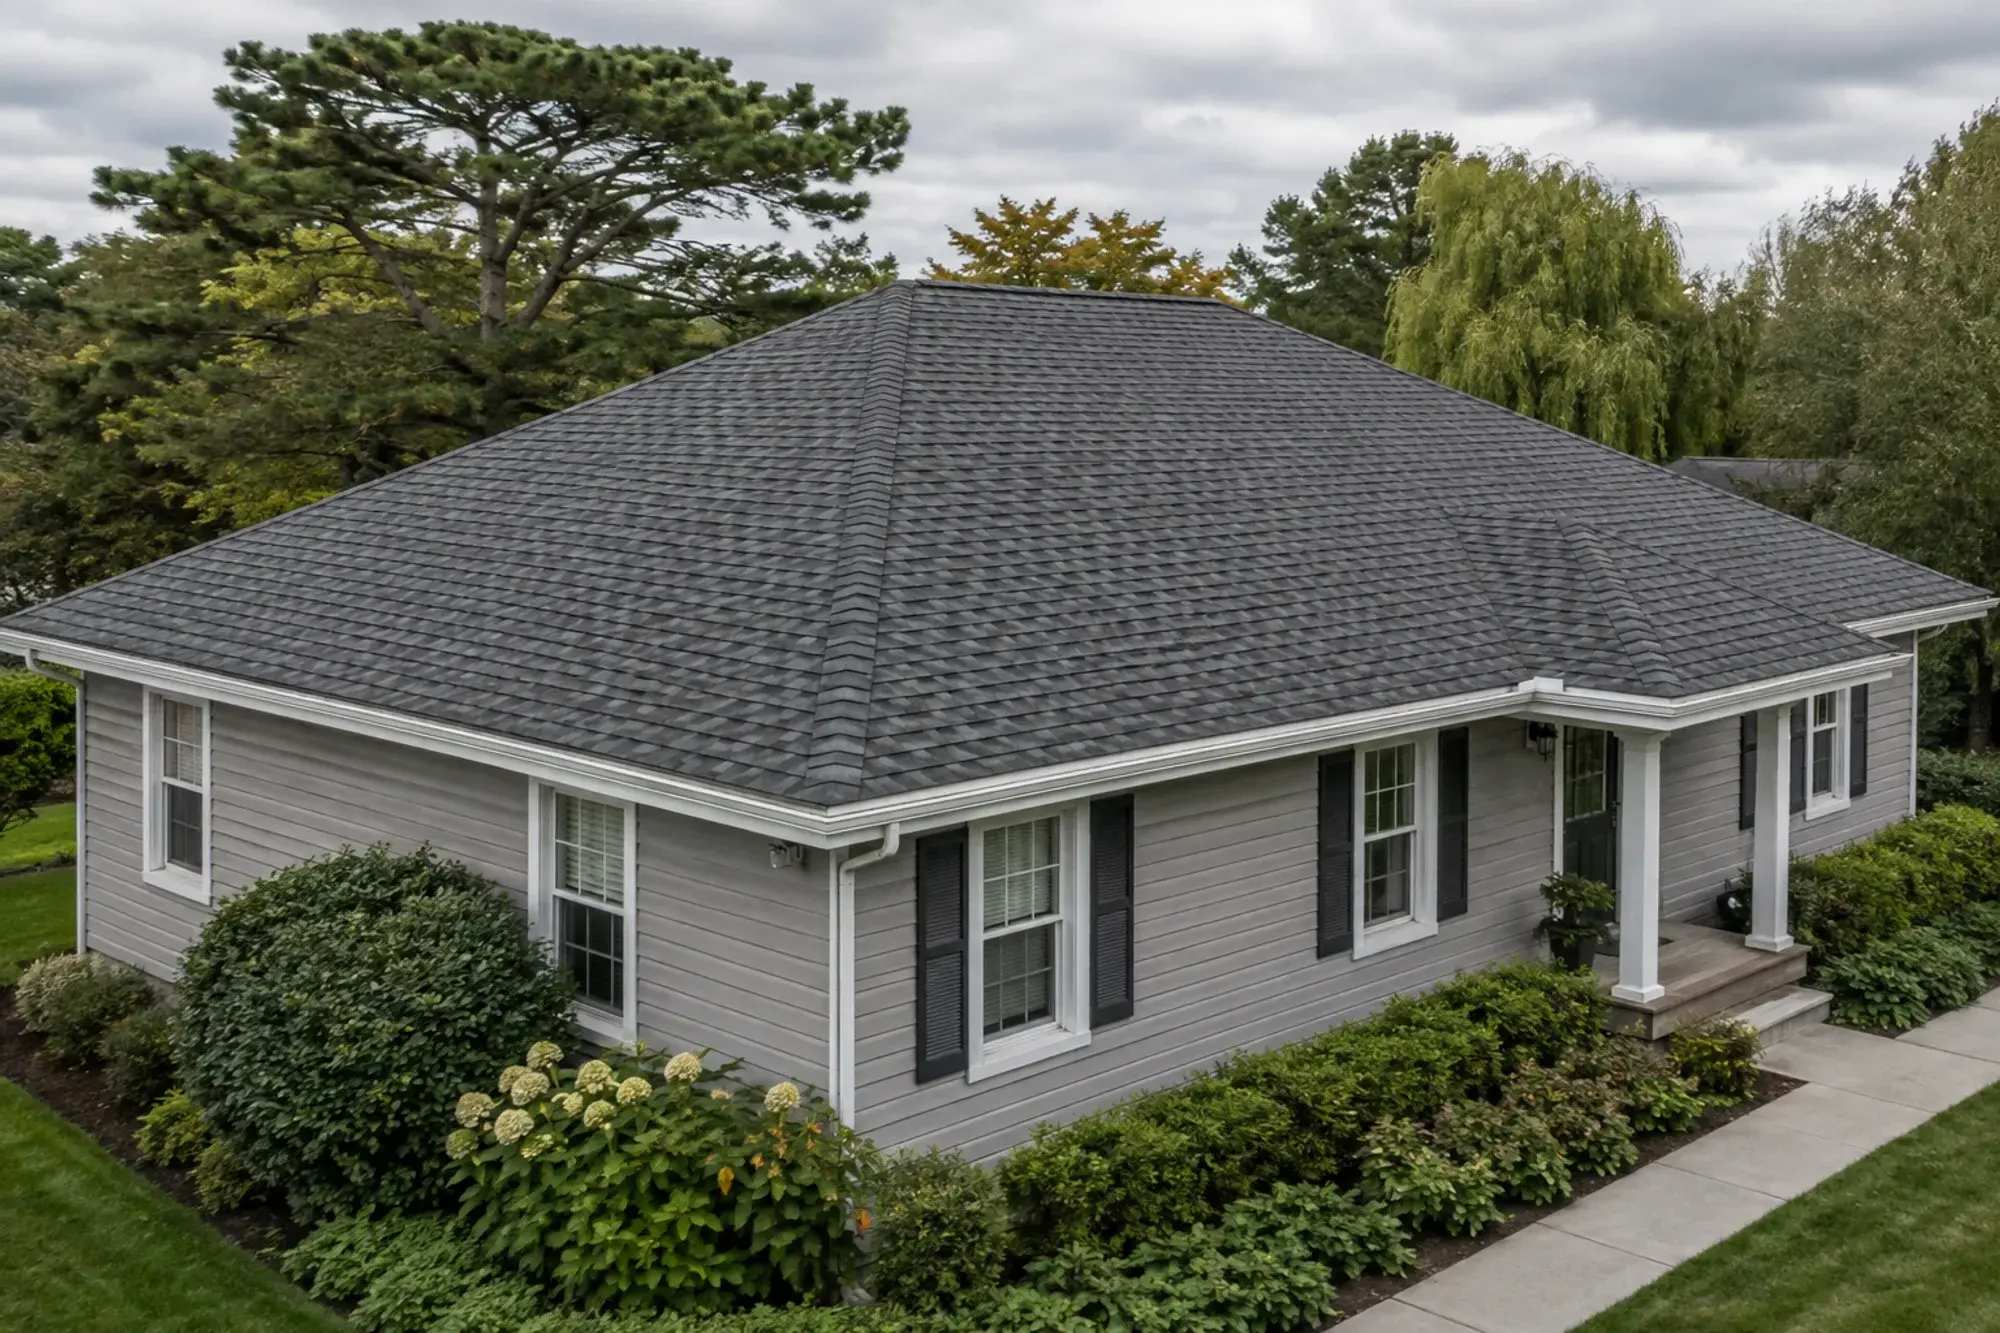
A completed shingle roof with continuous hip caps and clean eave lines. Illustrative project image. 11of 13
Inspect the completed roof work
Review accessible finished details against the scope and document any outstanding items.
You decideConfirm the priorities, selections, or changes relevant to this stage before the work moves forward.You will seeA clear record of the current scope, open questions, and next steps.12of 13
Review cleanup and property condition
Check the agreed work areas, debris removal, and surrounding property before project handover.
You decideConfirm the priorities, selections, or changes relevant to this stage before the work moves forward.You will seeA clear record of the current scope, open questions, and next steps.A finished charcoal shingle roof, seen in context. Illustrative photography for this demonstration business. 13of 13
Provide project documentation
Retain the scope, product details, care information, and applicable written warranty terms.
You decideConfirm the priorities, selections, or changes relevant to this stage before the work moves forward.You will seeA clear record of the current scope, open questions, and next steps.
Discuss your roofing project
Share the scope, your priorities, and the timing you have in mind. This inquiry form is part of the 3Fold Labs website demonstration.